A handwheel reaches its stop, the indicator reads closed, and fluid still trickles downstream. Operators often respond by cranking the wheel harder. That rarely helps. The leak usually traces back to one of three things: a damaged sealing surface, debris caught between the closing parts, or a disc that meets the seat unevenly.
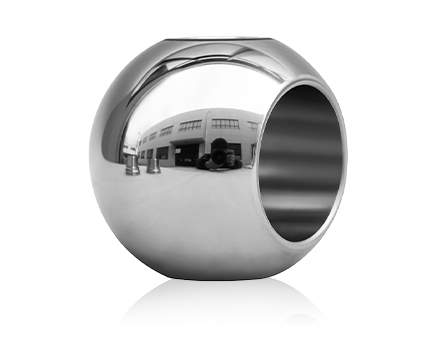
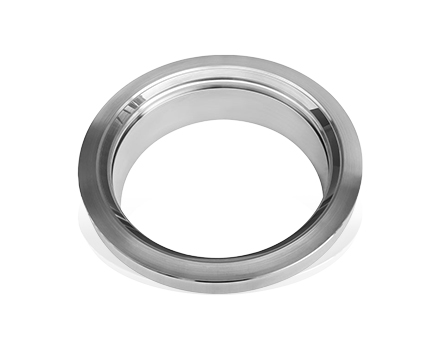
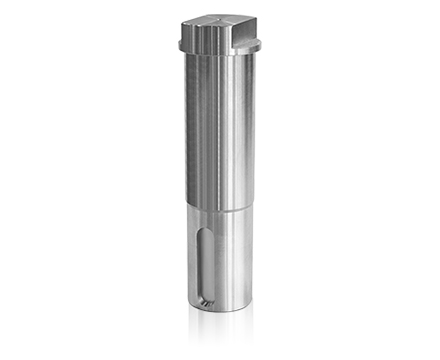
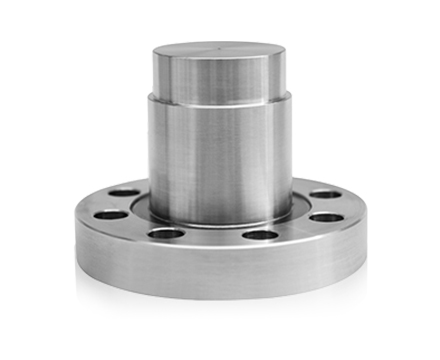
The Globe Valve Seat is the surface the disc presses against when the valve closes. When contact between the two is incomplete, a narrow path stays open even though the mechanism feels normal. Below is a practical way to tell the causes apart and decide on the next step.
Common Causes of Internal Leakage
A globe valve moves a disc toward or away from a seat inside the body. A tight seal needs even contact all the way around. A scratch, a grain of scale, or a slight tilt can break that contact.
Leakage can build slowly with repeated operation, or appear after maintenance or a change in the fluid.
| Possible Cause |
What May Be Happening |
| Seat damage |
Sealing surface is worn, scratched, or deformed |
| Foreign material |
Debris holds the disc off the seat |
| Disc misalignment |
Disc meets the seat at an angle |
| Operating mechanism fault |
Stem or actuator does not finish its travel |
| Assembly error |
Internal parts are not seated correctly |
| Service wear |
Repeated cycling erodes the surfaces |
Several causes look alike from outside, so visible leakage alone does not name the source. Inspect in a controlled order, and never open a valve under pressure.
Checking the Seat, Debris, and Disc Alignment
Seat Damage
Scratches, pitting, erosion, and deformation interrupt contact. They come from repeated operation, particles moving through the valve, unsuitable service conditions, or too much closing force. A small defect may spoil only part of the contact ring, while broader wear can stop sealing altogether.
Judge the surface by looking at it. A stiff handwheel does not prove the seat seals, and a smooth close does not prove the surfaces are intact. Once the valve is isolated and made safe, look for visible damage, uneven contact marks, deposits, or changes in shape. Depending on valve design and the size of the defect, a damaged seat may need repair or replacement. Forcing the disc against it will not restore sealing and often worsens the damage.
Trapped Debris
Not every leak means permanent damage. Rust, scale, residue, or fragments left after pipework repairs can lodge between disc and seat. A sudden change in leakage after system work, flushing, or a change in fluid makes debris worth checking, though timing alone proves nothing.
If the design permits safe access, inspect the disc and seat for deposits. Clean according to the manufacturer's instructions, and avoid abrasive tools that scratch the surfaces and turn a temporary obstruction into lasting damage. If debris returns, look upstream for its source, since cleaning only treats the symptom.
Disc Alignment
A tilted or displaced disc touches one side first and leaves a gap on the other. Wear, damage, poor assembly, or loose guiding parts can cause this. The stem may still travel and the valve may look closed.
| Inspection Area |
What to Check |
| Disc surface |
Uneven wear, scratches, damage |
| Seat contact area |
Signs of one-sided contact |
| Guiding parts |
Wear, looseness, obstruction |
| Internal assembly |
Correct positioning of components |
| Operating movement |
Smooth, complete travel |
Some checks fit routine maintenance, while others need disassembly by qualified staff. More closing force is no substitute for finding the alignment fault.
Operating Mechanism, Force, and Assembly
Sometimes the sealing surfaces are fine and the valve simply does not close fully. Worn threads, a loose connection, an obstruction, or a wrong actuator setting can leave the disc short of its travel. Look at external parts first for damage, resistance, or loose fittings, and do not push through resistance. Replacing a seat will not cure a mechanism that stops early, so rule this out before blaming the sealing area.
Extra force is tempting, yet it backfires. It stresses the stem, disc, and seat, and it can deform surfaces, especially when a particle is already trapped. A change in operating effort is a reason to investigate. Follow the approved procedure and stop when you meet unusual resistance.
Leakage that starts soon after maintenance points to assembly. Check which parts were removed, cleaned, adjusted, or replaced. A part fitted wrongly, damaged in handling, or left near a stray object can keep the disc from seating. Pipework that strains the valve body can also disturb contact. Use records to guide the inspection instead of repeating unrelated adjustments.
Safe Inspection and Choosing the Fix
A closed valve is not proof that the downstream side is safe. Fluid may be hot, pressurized, or corrosive. Isolate the valve, relieve pressure, and follow site procedures before exposing internal parts, with qualified personnel confirming conditions.
A workable sequence:
- Record when the leak occurs and whether it changes.
- Check the operating mechanism for resistance or damage.
- Review recent system work for possible debris.
- Inspect sealing surfaces for wear, scratches, and deposits.
- Confirm alignment and assembly.
- Pick the corrective action based on findings.
- Test and return to service under the approved procedure.
Cleaning may be enough when debris is found and the surfaces remain sound. Repair or replacement fits lasting damage to disc or seat, alignment that cannot be restored by an approved adjustment, or worn internal parts. Judge scratches by location, depth, and effect on sealing, not by their mere presence. If the valve is not designed for field repair, replace the affected component or the whole valve. Unsuitable parts or altered sealing surfaces create new problems.
Preventing Repeat Leakage and Buying Replacements
Repairing the defect is half the work. If debris caused it, trace the source. If the seat wore out, ask whether closing force or operating conditions contributed. If the disc tilted, inspect the guiding parts. Notes on symptoms, operating effort, repairs, and findings help teams spot patterns. Operators usually notice changes in closing effort first, so their reports should reach maintenance quickly.
When choosing a replacement Globe Valve Seat, consider material compatibility, fluid conditions, operating frequency, and the valve's construction. A part that looks similar may differ in fit or contact geometry, so confirm compatibility with product documents or a qualified supplier. Ask for clear installation and replacement instructions to avoid new defects during service.
A new seat fixes a damaged sealing surface. It will not fix recurring debris, a misaligned disc, or a mechanism that stops short. Accurate diagnosis keeps the repair aimed at the real cause.

 English
 中文简体
 русский
 Español
 عربى
 italiano